
Hobby Sprints - Necromunday Underhive Painting Challenge
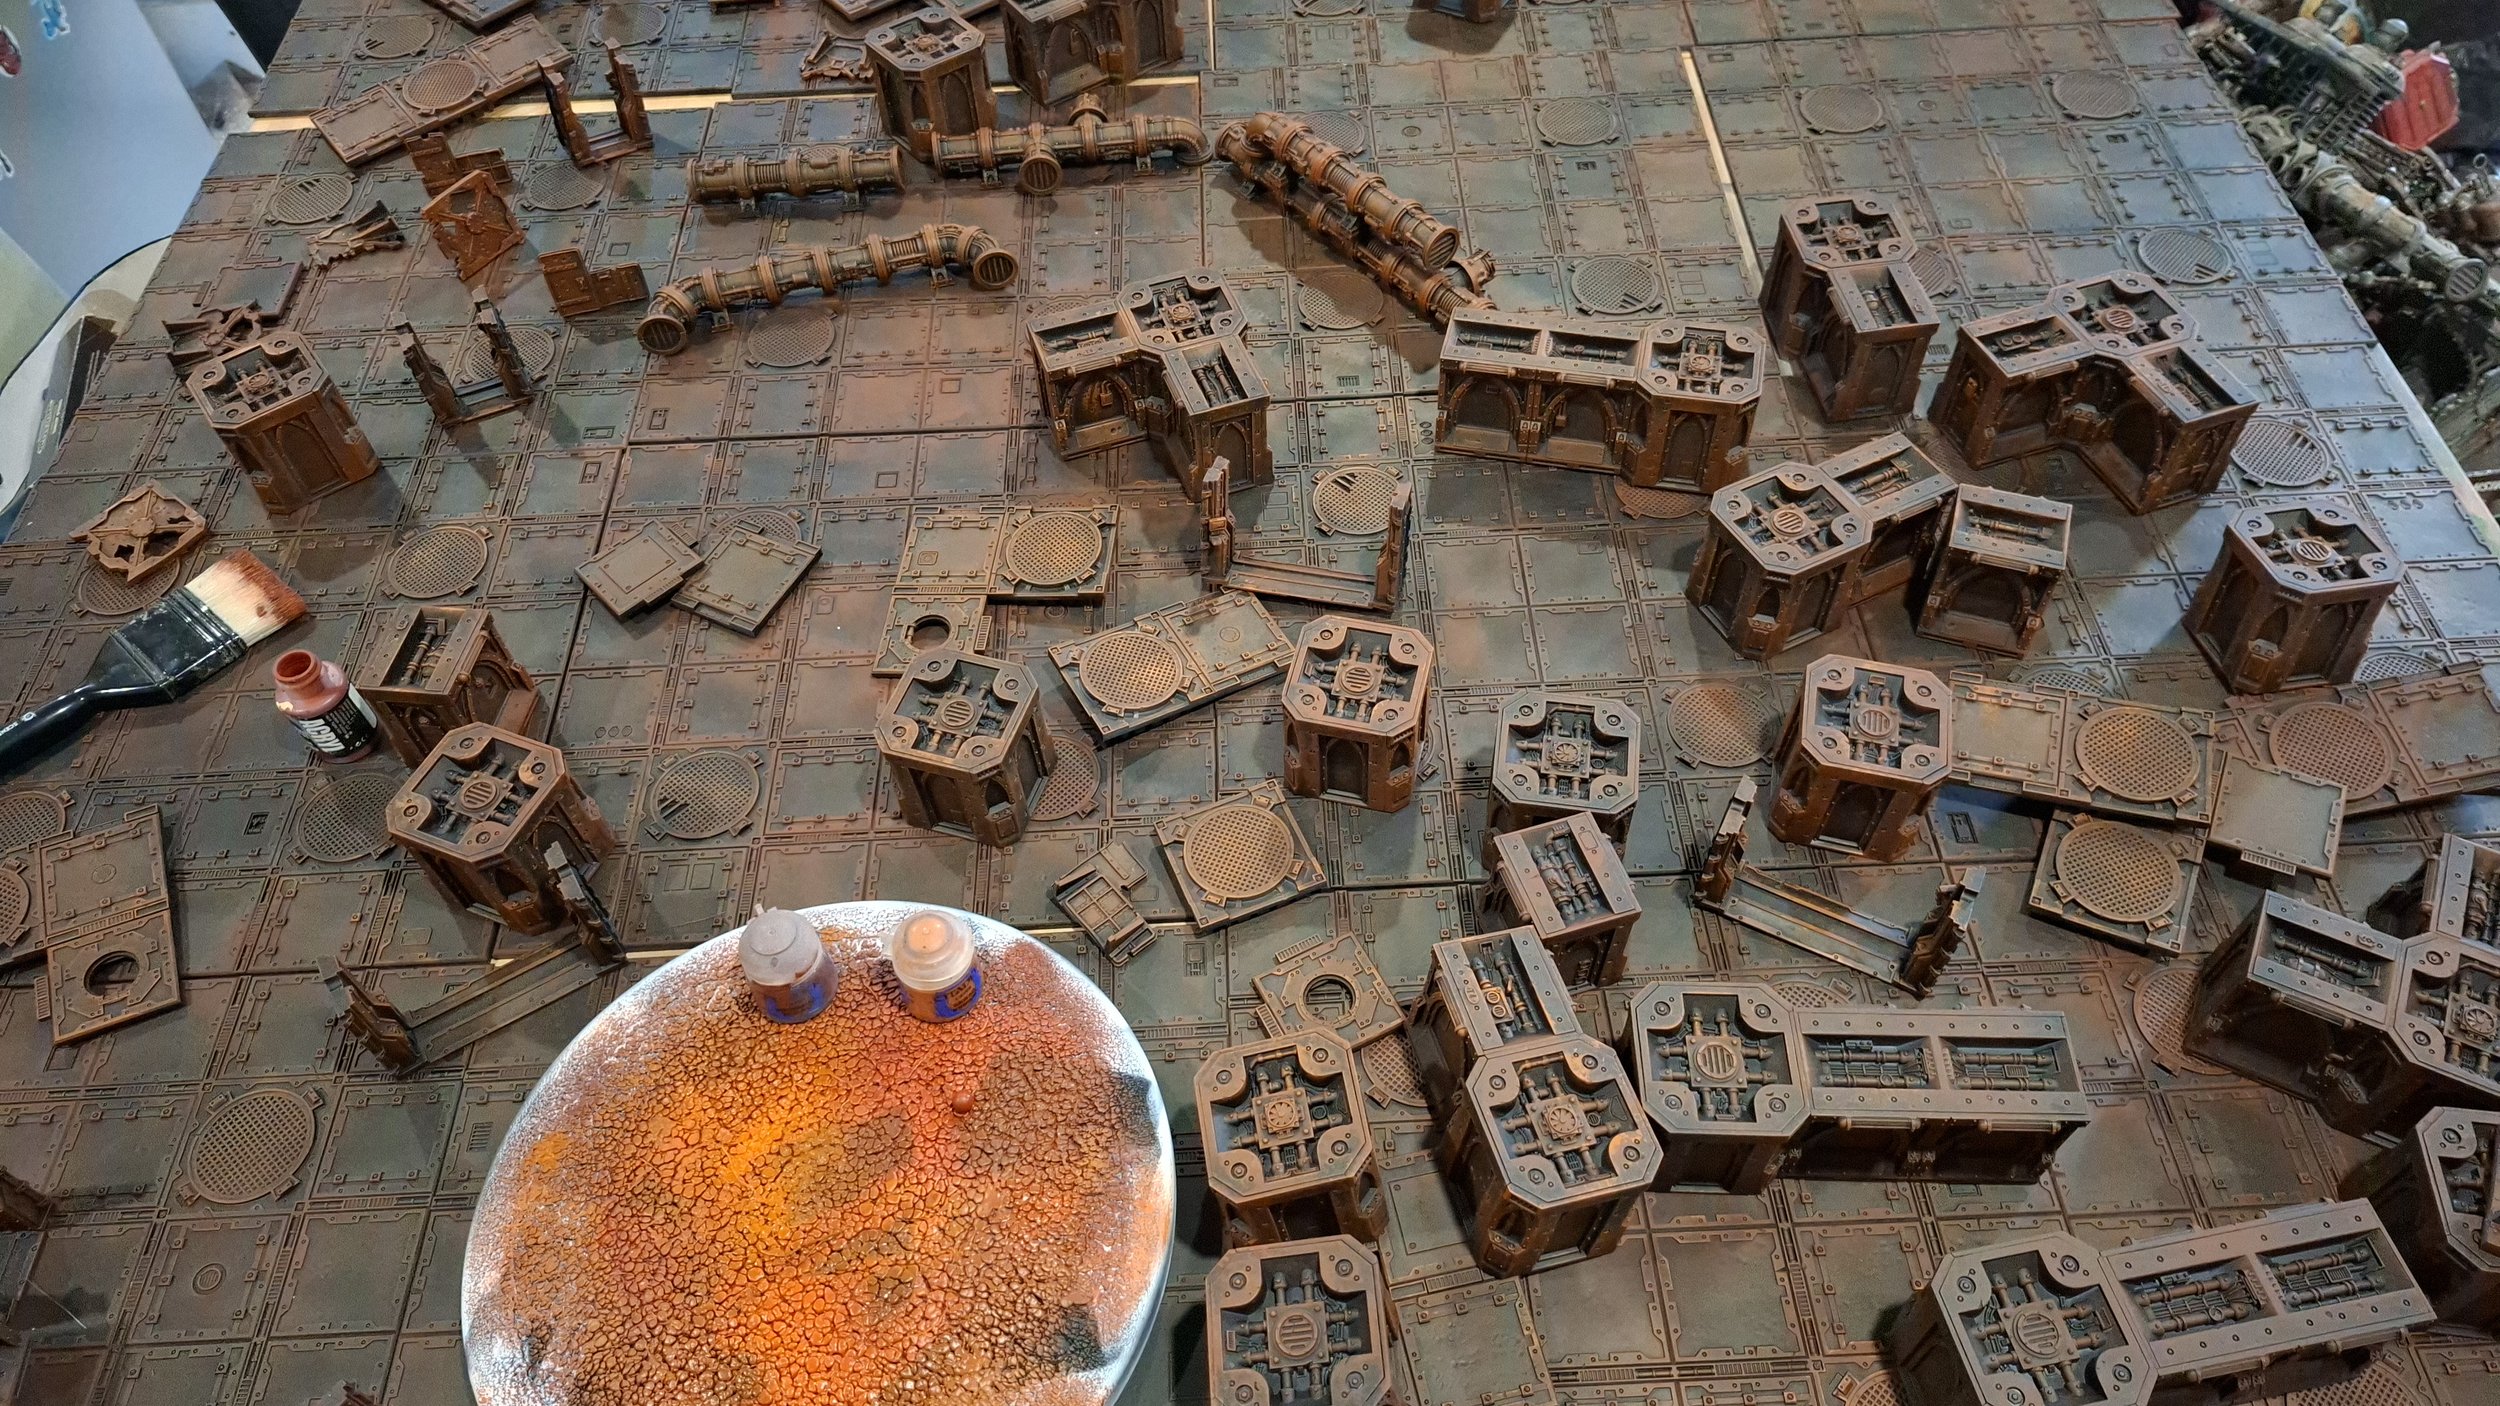
Chocolate eggs? Tick. Hot cross buns? Tick. Cups of tea? Tick. A 4x4 mound of primed black plastic tiles, walls, columns, walkways, pipes, stairs and various others bits of scenery fit for the Underhive of Necromunda? <T I C K>
The Plan, the Means, The Prize.
I’ve been sat on these Dark Uprising boxes (2) since they came out in 2019. Always with the intent of getting a table sorted out for glorious games of Necromunda. Finally, 6 years later with a long bank holiday weekend, it was time to get it rocking and rolling.

I roped in my brother and fellow denizen of the Underhive, Kenny, to give me a hand. He got everything bar the pipes built up in the weeks leading up to, and the weekend before we got everything sprayed using The Colour Forge Matt Black spray. (Just under 2 cans worth, and my snot was black for days after). Kenny then painted up a couple of testers that we could emulate quickly in a production line between us.
With the testers done and signed off, it was time to get the day lined up.
With our pre-prepared list of necessary paints and equipment, we decided our best approach would be a production-line style attack. In this, we began with the floor tiles and the columns and walls. Since all of this (as well as the pipes and…well, pretty much everything), getting all of this done would account for a massive percentage of the work.
We began with our dense drybrushing (probably closer to overbrushing) of browns over the primed-black bits. Using Citadel Doombull Brown and Pro Acryl’s Burnt Umber, we drybrushed everything to look rusted and decrepit. This took around an hour and a half to do simply due to the sheer volume of all that needed doing. We then lightly scratched some Citadel Skrag Brown in sporadic places to brighten things up a smidge.
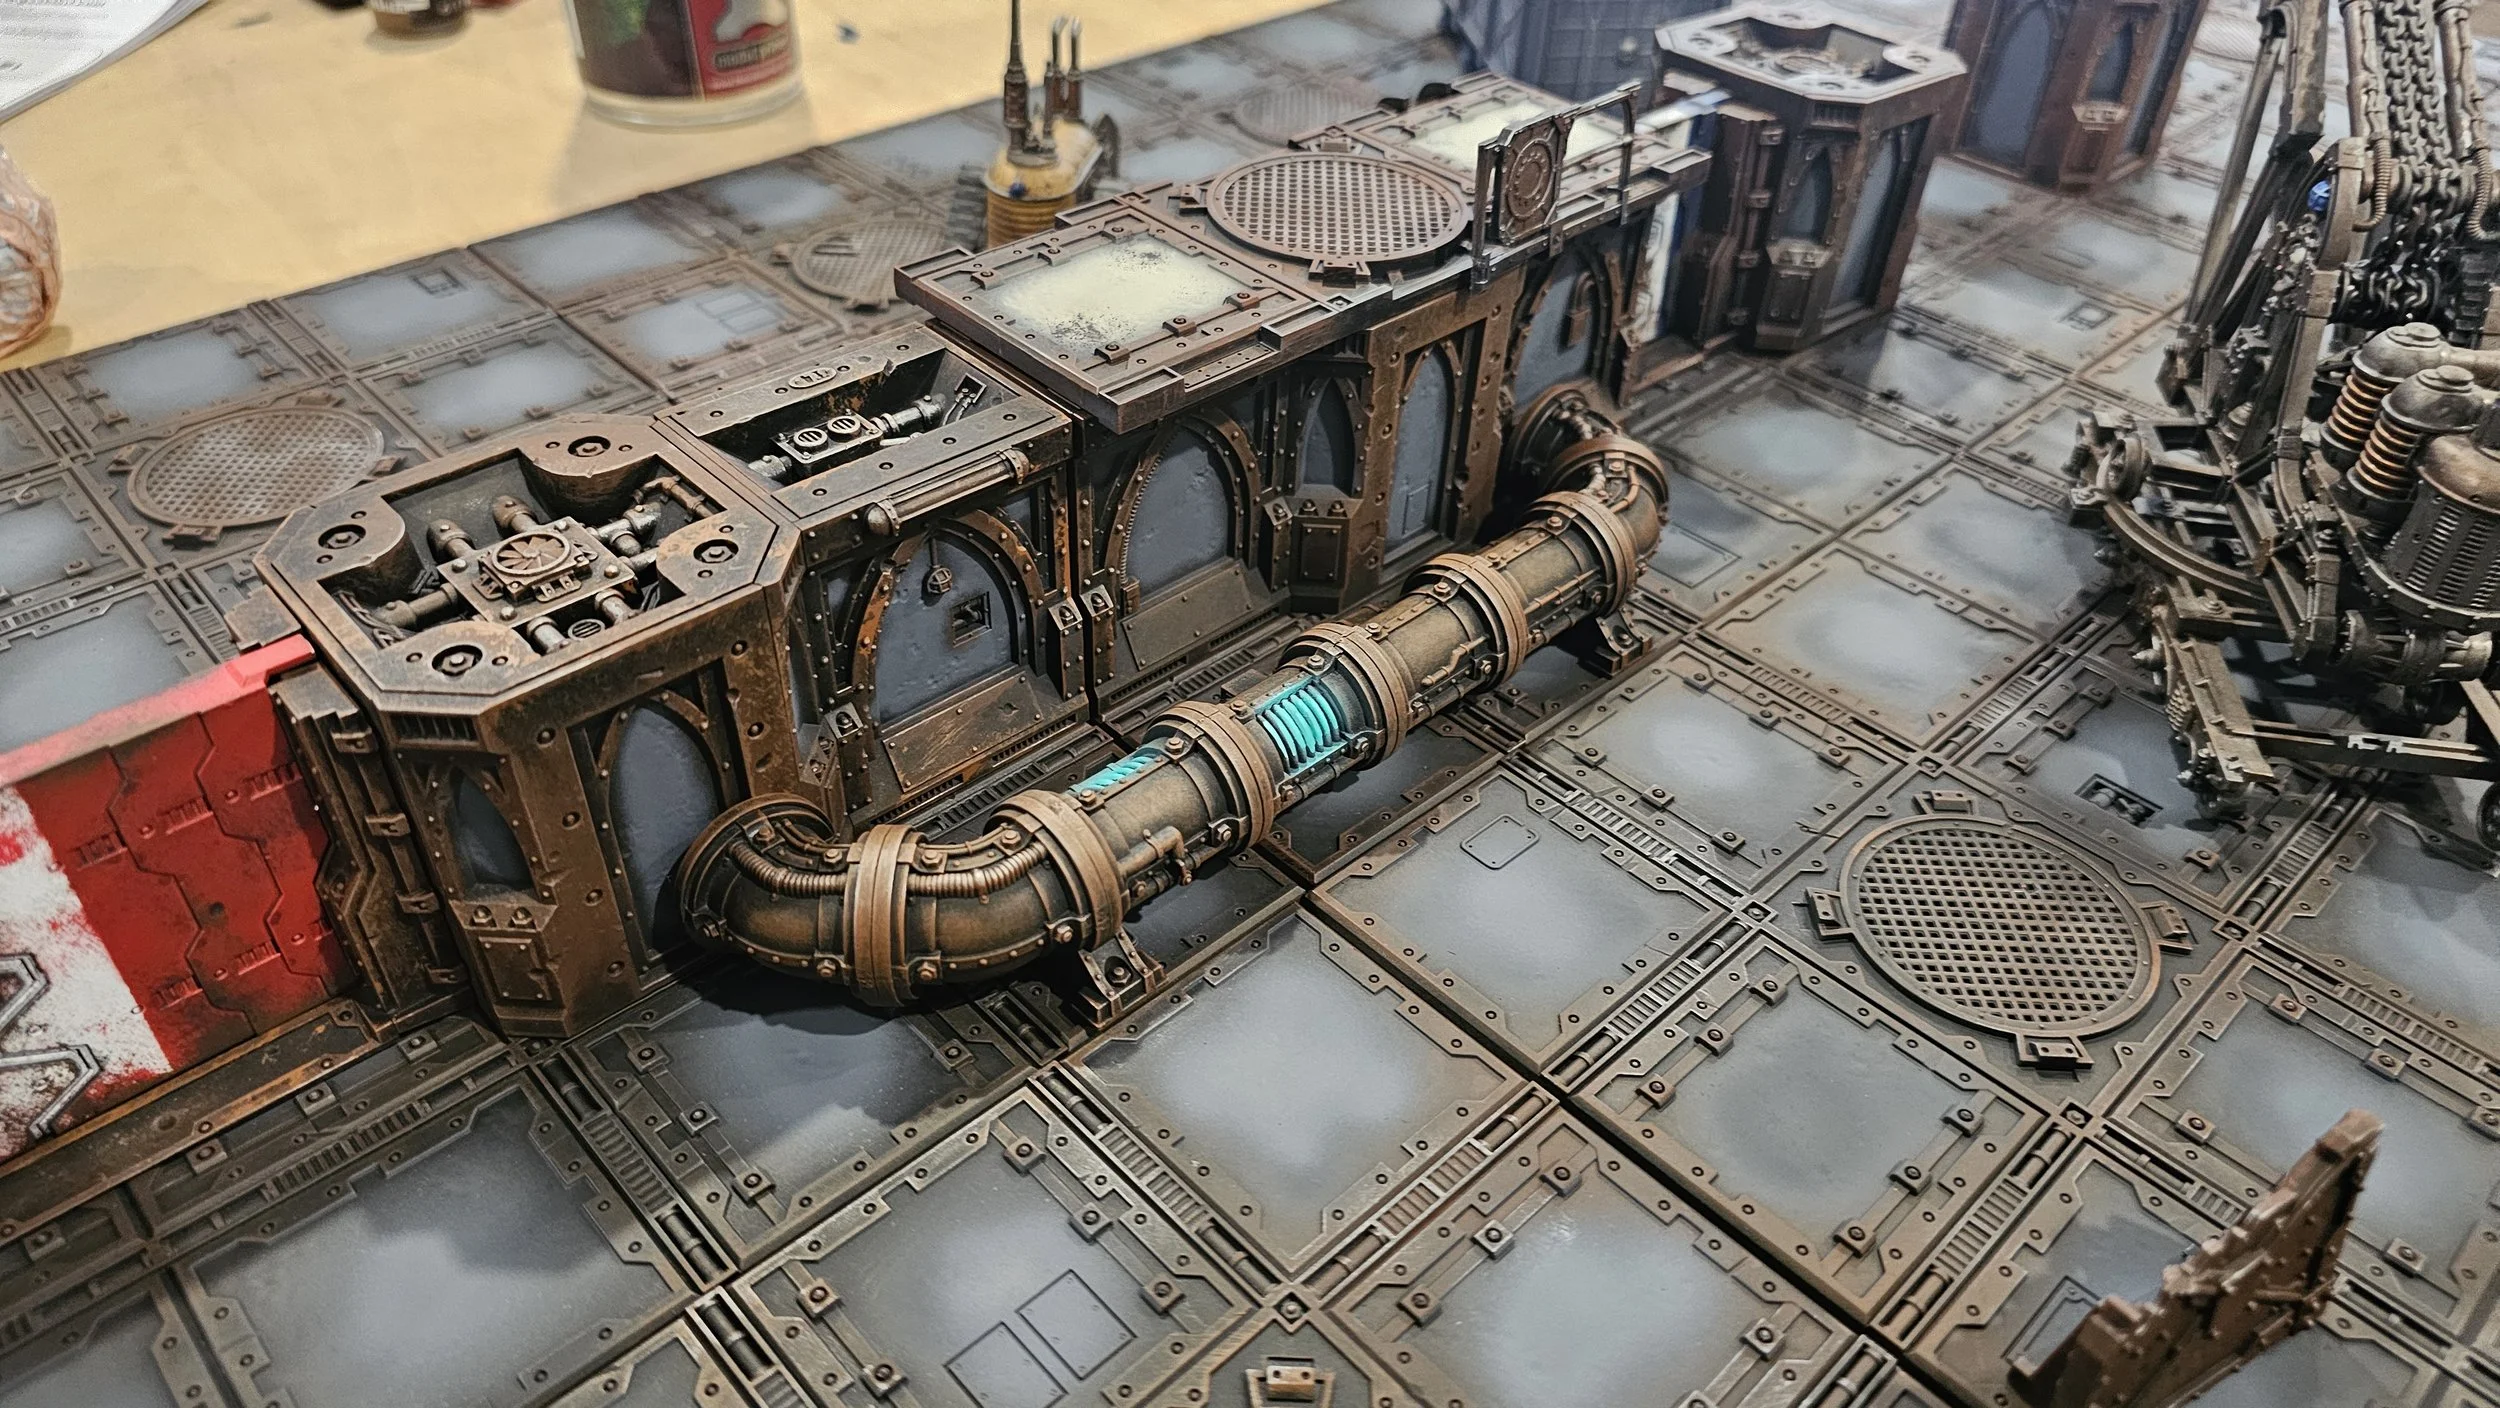
Once everything was given a grungy rusted smattering, then come the delicate airbrushing needed over the walls, columns and floor tiles. The walls and columns were given a selected layer of Pro Acryl Neutral Grey on the paneling, whilst the platforms were given a hit with Pro Acryl Olive Flesh in all of the flat floor panels. After this, the floor tiles were given a dose of a few colours before we landed on one we were happy with, after deciding the colour from the original tester would make the floor a little too vibrant when done in totality.
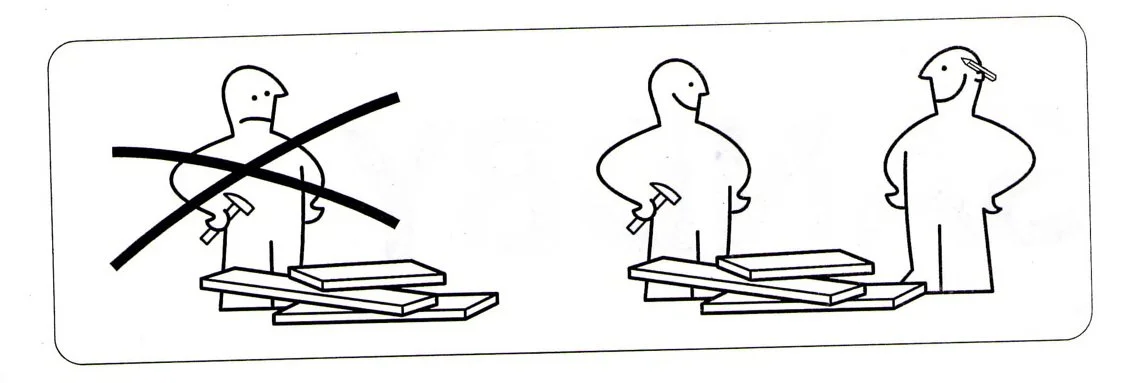
Naturally, having to change plans isn’t ideal, but it’s better to measure twice and cut once. Doing this after testing on a single tile saved us considerable time and paint (and emotional constitution) rather than deciding this after doing every tile. It’s always better to fail quickly as you will learn fast.
Whilst this was going on, the doors were given a bit of masking tape so that they could have some visual interest in striping. The small doors were white and blue, whereas the large doors were white and red. This gives a nice splash of colour amist a sea of brown and grey.
So, now all the drybrushing of rust was done, and some initial panels were picked out, Kenny began very lightly tickling areas with Necron Compound (Dry), just to add a third colour and add some more depth. While he did this, I began infilling panels on the 16 floor tiles using Pro Acryl Dark Warm Grey. This broke it all up nicely from other panels while appropriately breaking up all the browns and reds across the scene.

By this time it was about 14:00 and we realised we were WAY ahead of schedule. The power of big brushes and two pairs of hands!
Up next was some weathering on the doors using colours already on the board, along with a little bit of Pro Acryl Brown Black, which we also stippled along the olive walkways to break them up a touch. We also then ran some AK Interactive Black Panel Liner in to the recesses of the doors to make them a bit muckier and pronounce those recesses.
More Necron Compound (Dry) was applied to the floor tiles on the trim of each square subtly, at which point I centered each square with some Pro Acryl Neutral Grey to get them popping just that bit more.
At this stage, we were about done! I airbrushed some Pro Acryl Titanium White on the coils of the plasma pipes, and used my Orange Brushes to apply the same paint to the screens on the keypads of each door frame. Those screens were then painted with Striking Scorpion Green, and the plasma coils were airbrushed with Army Painter Speed Paint Plasmatic Bolt.

Home stretch!
Up next was the railings. These were painted identically to the rust scheme throughout this sprint. Sprayed black, drybrushed rusty brown and lightly tickled at the end with a bright silver. It was about 15:30 now and we were very happy with what we’d achieved in the time since starting at 09:30. I decided to spray up a spare armored contained and some barrels and crates I had lying around to be sorted and finished later on. Come 16:00, we decided to call it a day!


That’ll do, pig.
Just over 6 hours from primed black to done and ready to be ransacked!
This was a great way to spend a wet and miserable bank holiday. I look forward to not just gangs scrapping bloody murder all over it, but also for it to be used for games of Zone Mortalis in Horus Heresy, and Boarding Action/small point games of Warhammer: 40,000.
And the best bit, across the whole process, we used 3 differed sized brushes (A big two incher, a slightly smaller drybrush and a size 3 from Orange Brushes), and only 16 paints! That’s including rattle cans too:
Rattle Cans (The Colour Forge):
Matt Black
Matt White
Sanguine Red
Tempest Blue
Paints:
Pro Acryl Burnt Sienna
Pro Acryl Olive Flesh
Pro Acryl Bold Titanium White
Pro Acryl Neutral Grey
Pro Acryl Warm Neutral Grey
Pro Aryl Brown Black
Citadel Necron Compound (Dry)
Citadel Doombull Brown
Citadel Striking Scorpion Green Contrast
Citadel Skrag Brown
Army Painter Speed Paint Plasmatic Bolt
AK Interactive Black Panel Liner

Thanks for reading! We hope you enjoyed this article and that it might encourage the process in getting your own Underhive fit for purpose in no time at all. It’s an even greater experience with a hobby pal to half the work with. Cheers, Kenny!
If you enjoyed this article, and would like to check out daily hobby content, be sure to check out the socials below, and don’t forget to ‘Like’ and ‘Follow’ so you don’t miss out on stuff up and coming!
www.theunrelentingbrush.com
www.Facebook.com/theunrelentingbrush
www.Instagram.com/the_unrelenting_brush
Peace! \m/